5 Tips for Better iPhone Food Photography
These tips, while written with shooting from your iPhone or other smart phone as the primary inspiration, will also apply to shooting food photos with a DSLR. In that case, your adjustments will happen in a program like LightRoom, CaptureOne, or Photoshop. iPhone food photos can be amazing, and, in many cases, you can take food photos with your iPhone that are almost as nice as with a fancy expensive camera. These smartphone food photography tips will help you out!
1. Natural light is everything.
Avoid directly shining sunlight (like outside or beaming into a window), but use a bright spot next to a window. If you see light shining into the room brightly, use the area adjacent to that bright light so your subject is well lit, but not over exposed.
Here is a comparison of some taco plates, the first shot in the evening at dinner and the other shot with a great source of natural light during lunch. You can achieve a fairly well-lit appearance in a photo with some filtering, but it’ll never be the same as a truly well-lit image.
For more comparison photos, read the entire post!


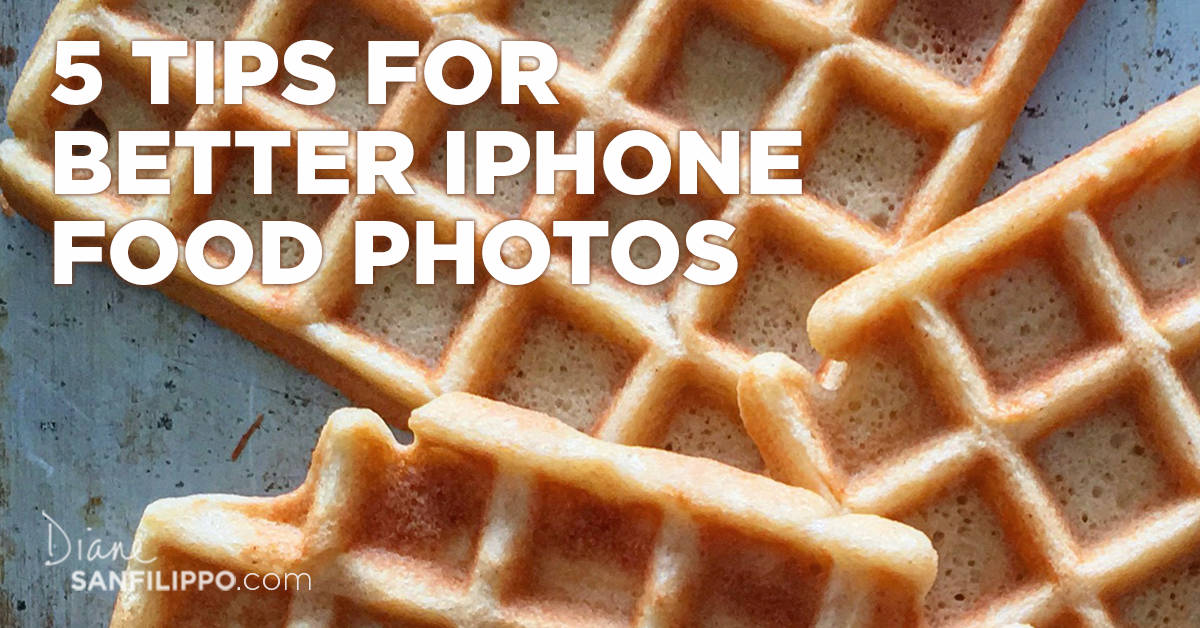
Yes, I shot these waffles with my iPhone.
2. Plate carefully.
If you are going to eat food without a photo, make a mess and have fun – but if you are going to take a photo, have fun in a more intentional way when you plate it. It doesn’t need to be overly fussy, but pay attention to what you’re doing.


3. Use appropriately sized dishes or plates or place the food on a flat surface.
Avoid large bowls or plates if possible except when you are shooting the entire dish or a family style platter, for example. Unless you are very talented, a large dinner plate, for example, will look awkward and uninteresting in a photo. Use a large bowl-plate instead, or some smaller vessel.
 4. Shoot overhead.
While you certainly can achieve a pretty photo at a 45-degree angle (another popular angle in food photography), overhead is ideal for a photo that will appear flat on a screen. Your iPhone camera does not adjust or capture a sense of focal length (items behind other items become blurry in the distance). So, while you can fake that effect with a blur when editing the photo on your iPhone, 9 times out of 10 an iPhone food picture is far better looking when shot directly overhead.


5. Make adjustments in Instagram or any photo editing app.
I use Instagram’s editing tools to keep life simple. Play around with each of the manual tools (not the auto filters), sliding each up and down to see what they do, then re-adjust each along the way until you achieve your desired look. I often adjust down the warmth, up the highlights, and up the sharpness a touch, amongst other things depending on the photo. Be judicious and don’t overdo the edits to the point where the food no longer looks real. The goal with the edits is to bring the photo to life and to make it appear as closely to what your eyes see as possible – which typically does require a few tweaks.
Here is a photo of our dinner which was shot without much natural light, but I was able to edit using Instagram’s features.

Note: If you are able to get 4 out of the 5, your picture should still turn out. A great example is the photo above. Although it was lacking natural light, I was able to use the other 4 tips and still take a good-looking photograph.
Here are a few comparison photos so you can see how these tips impact your photos.
Indoor versus window/natural lighting at a restaurant.
Restaurant lighting is not always the best. Both pictures were taken during lunchtime, but the second photo was a table near a window. The first photo is still fun, but it’s a bit dark and the colors are strange even after editing. You can see how the light is shining in on the salad in the second photo, allowing the pretty, natural colors of the food to stand out, and adding that pretty glow that only natural light can!


These photos were taken at Roam Artisan Burgers here in San Francisco.
As a general tip, sit next to a window when you dine out and there is daylight outside!
Your food photos will be glorious as a result, and the food will appear as appetizing on-screen as it was in real life. Dimly lit restaurants will make for truly unappetizing food photos.


These photos were taken at Little Gem Restaurant in SF.
Subtle differences in these tacos!
This may be a bit harder one to see, but the first photo was taken in the evening for dinner whereas the second photo was shot during lunchtime where more light was present – both were edited in Instagram. You can notice a difference in the taco shells coloring and even the plate.


Compare these sandwiches!
There is a big difference here in size of the sandwich and quality of the photo 😉 Lighting is key!


Two pretty salad pictures.
These salad plates are all well-lit and plated carefully. Also, notice that they are shot overhead.


Are you a food blogger looking to shoot even better photos of YOUR recipes?
Check out these bonus tips that start even before the food hits the table, along with some further explanation of the tips above, to help take your Instagram photos to the next level!”


janine henkel says:
Really informative and visual post. Thanks for writing it.
Diane Sanfilippo says:
Thanks, Janine!
a says:
This is so useful – thank you so much! I am not at all a photographer and will often attempt to snap photos of the food that I make from my phone…I know, not that professional. Moreover, I never really know what I am doing; I will literally turn my phone at an angle in hopes that it will look more interesting. Then I feel like my food is not getting the justice it deserves. So grateful to you for sharing these invaluable tips.
Diane Sanfilippo says:
I’m so glad!